We just sold our house and therefore finally got to all the projects we’d been meaning to get to since we moved in. Here’s the transformation of the fireplace room.
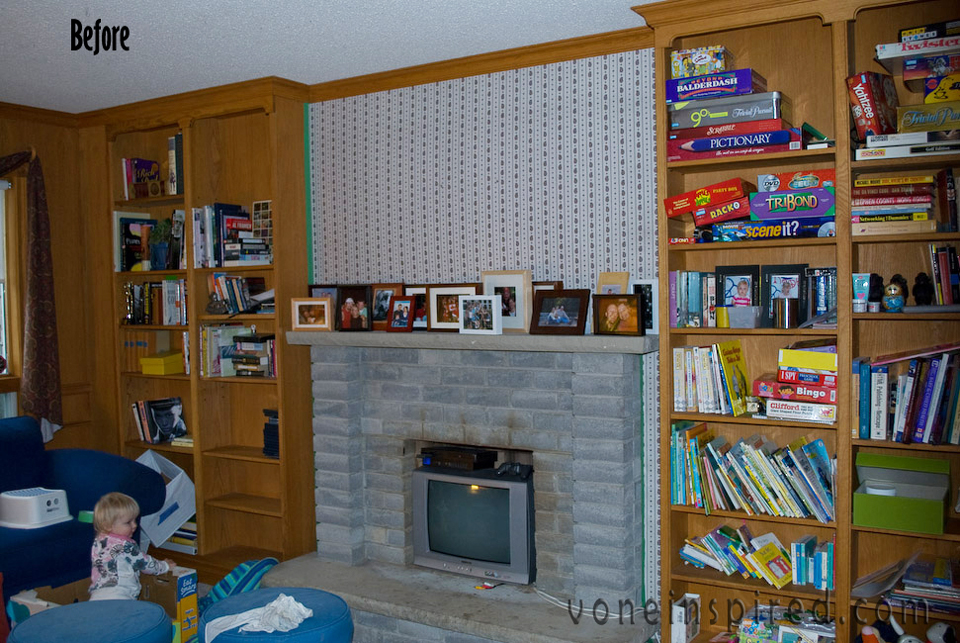
This is how we lived before. The horrible wallpaper, messy books, lots of toys, a clutter of small pictures and a
tv in the fireplace.
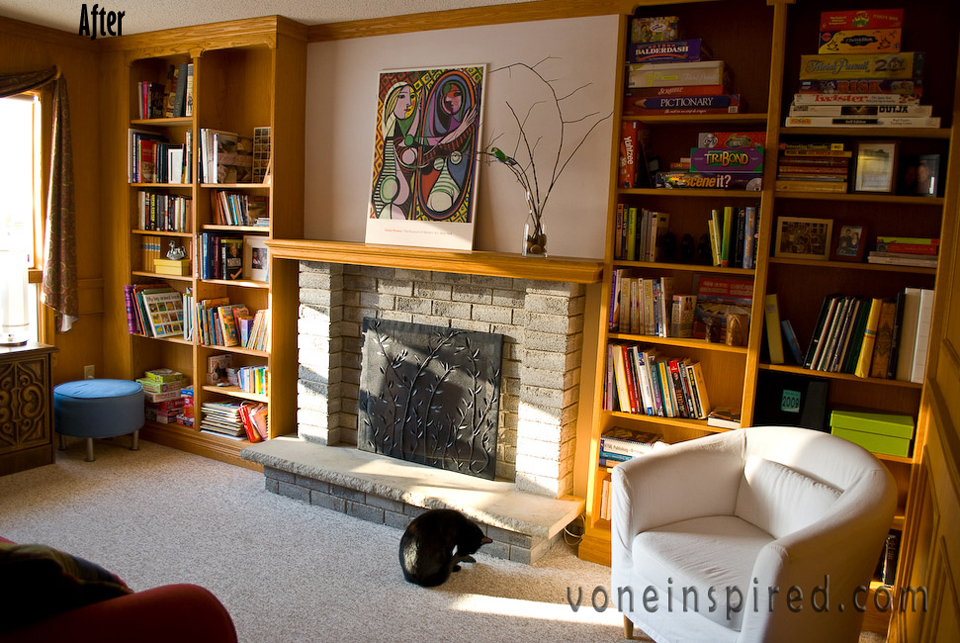
And look at it now - amazing isn’t it? First I painted over the wall paper; one even coat of primer and then one coat of Soft Dove paint (which was the same colour we painted the kitchen, back hall, downstairs bathroom and upstairs bathroom)
The big artwork was bought for $5 at a garage sale. I cut some branches from the backyard and put in a vase with some stones and added a little
bird for some whimsy.
We also moved some furniture around which really brighten the room up. Re-arranged the books and added some of our pictures on the book shelves. Removed 2 bins of toys and then put the white chair from the hall in to fill the empty spot.
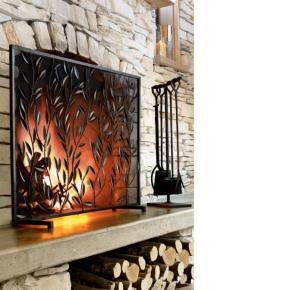
And then I made a super cool fireplace screen. I was inspired by a fireplace screen from
Crate and Barrel. So instead of spending $200, I got the look for only $20.
Have you guys ever made a project behind your spouses back since you know they wouldn’t get it until they see the final product? Well this was one for me but I think I proved to him at the end that it was worth it.
Here’s how I made the screen but just so you know it’s for decoration only and not to be used with an actual fire since it’s made from plastic and wood.
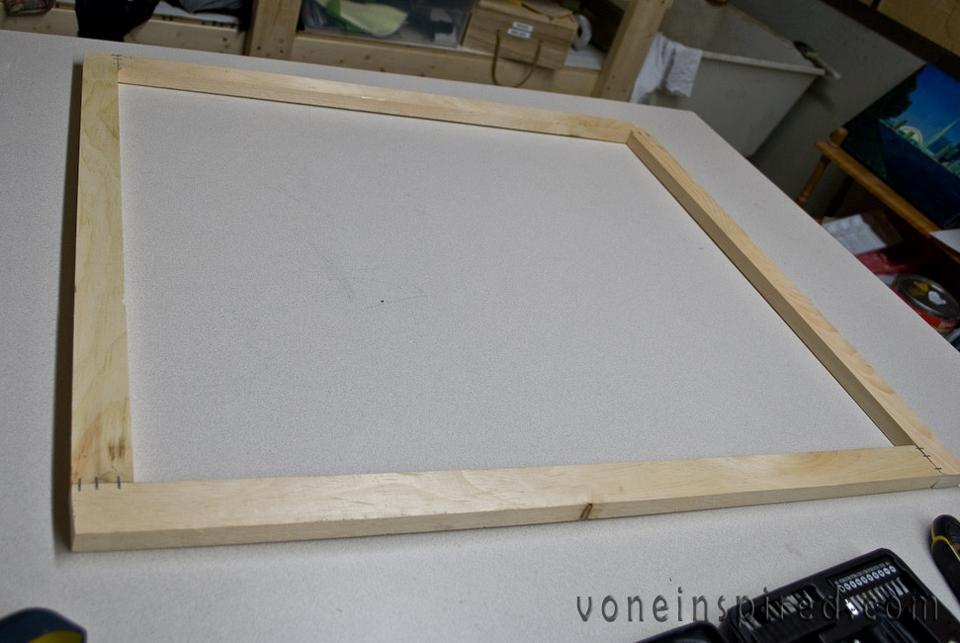
I bought 2 pieces of 1 1/2″ x 3/4″ wood and cut them into 2 pieces of 27 1/2″ and 2 pieces of 30″ - since the opening of the fireplace is 23X26. Then I sanded the cut edges and put them together like the photo above. I put the cut edges out since they weren’t the most even and therefore could make the frame not even or squared (this comes from hand cutting the wood myself).
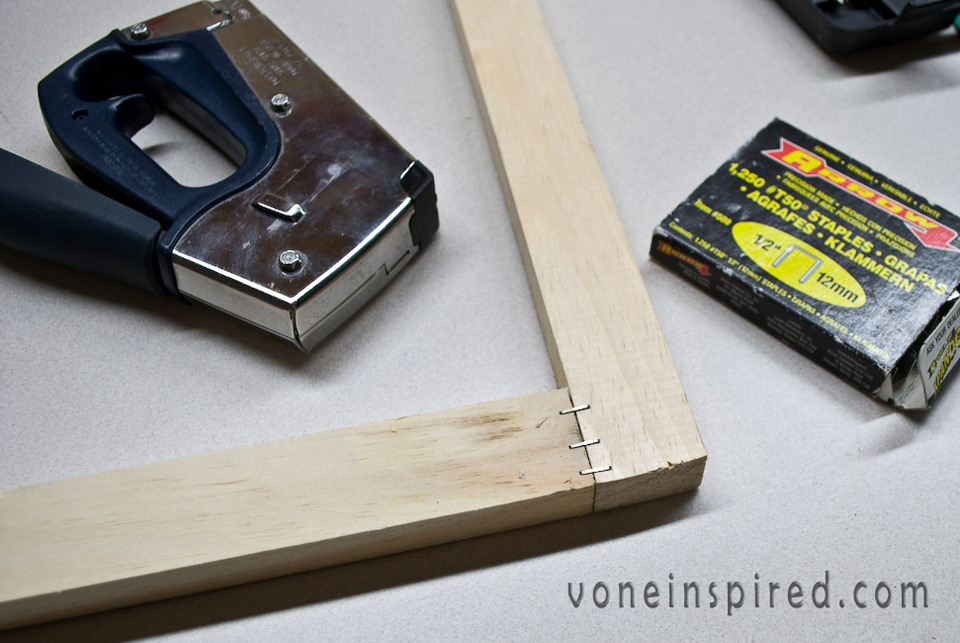
To attach the frame together I used some white glue and staples. I put 3 staples on both sides and was surprized how sturdy the frame was. I then painted the frame since I thought it might be a pain to get an even coat of spray paint on after it was done.
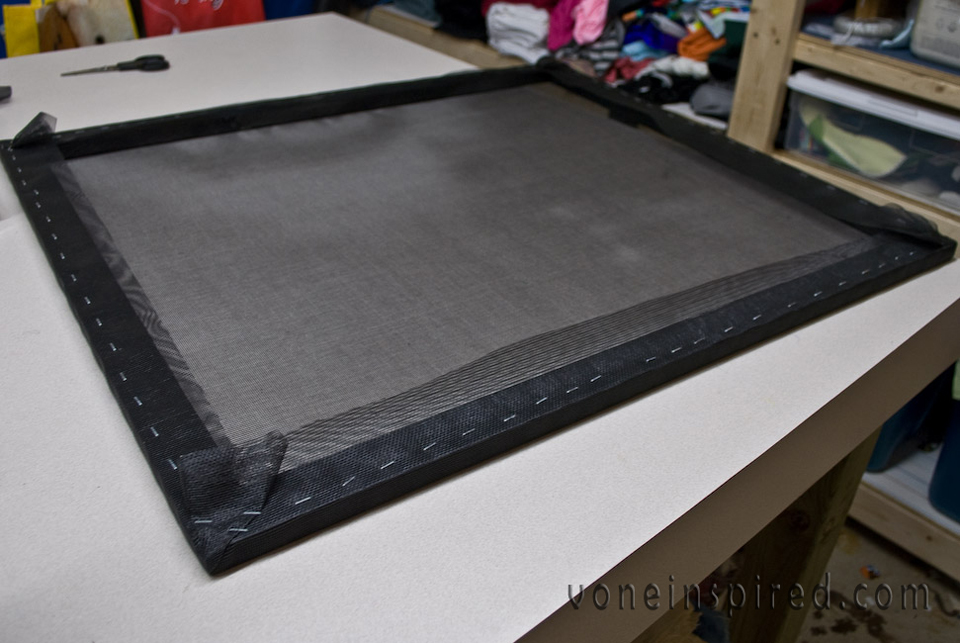
Then I covered the frame with screening and stapled around. The corners I just folded and stapled until they were flat and then trimmed the extra off. You could cover the edges with something, like tape or something, to make it look neater but I didn’t.
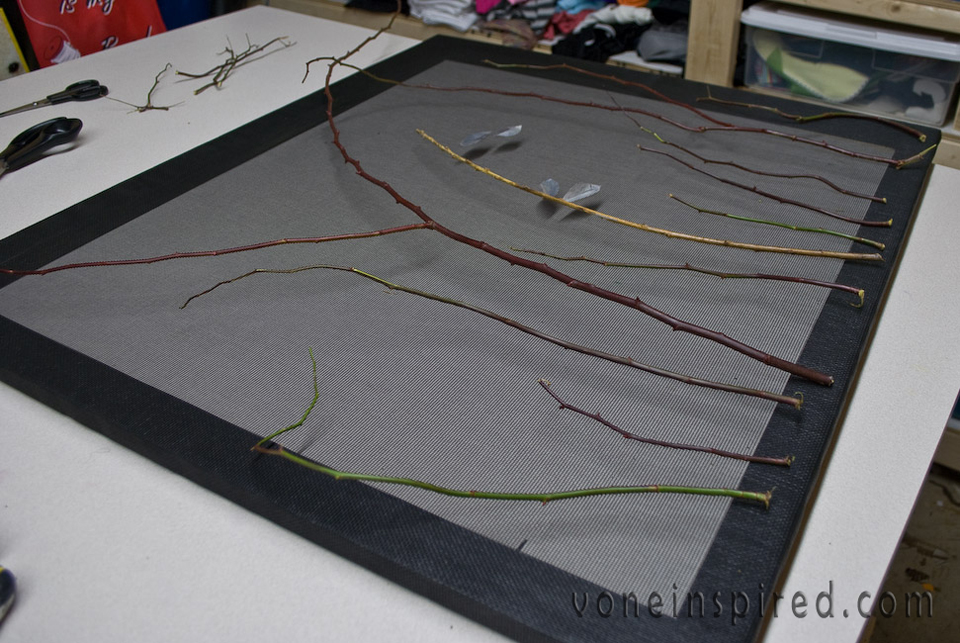
I got some branches from the back yard and cut them up and arranged them on the screen. I then glued them down using a glue gun - which you shouldn’t do. They didn’t stay very well. I really need to find some better glue for next time. But to keep them in place while I was gluing (or while your better glue is drying) I cut some wire to hold in place.
I made some “V” with the craft wire so I could thread from the back of the screen around the branches and twist them closed. I curled the ends of the wire so they weren’t sharp and looked better.
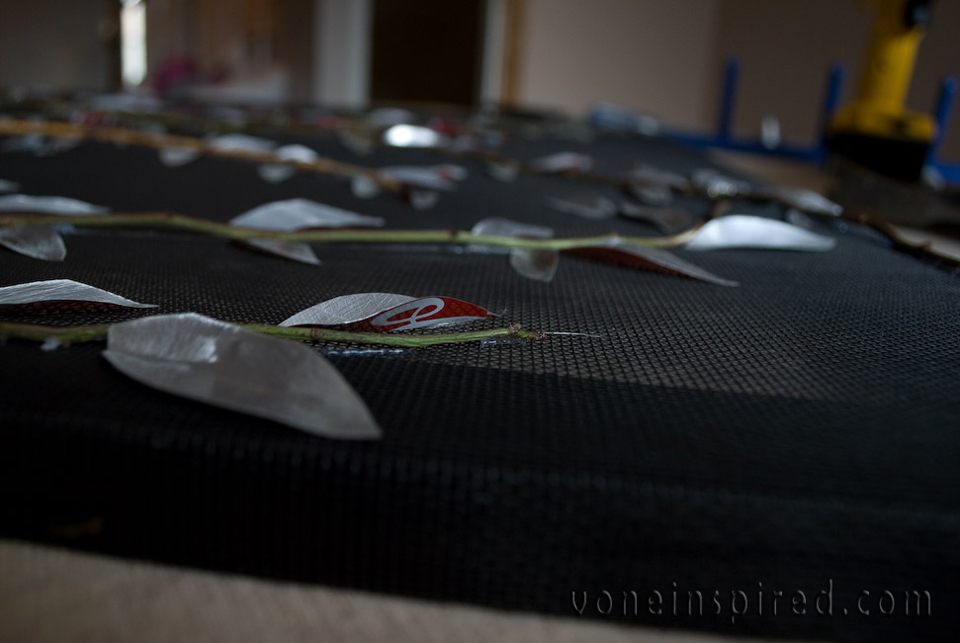
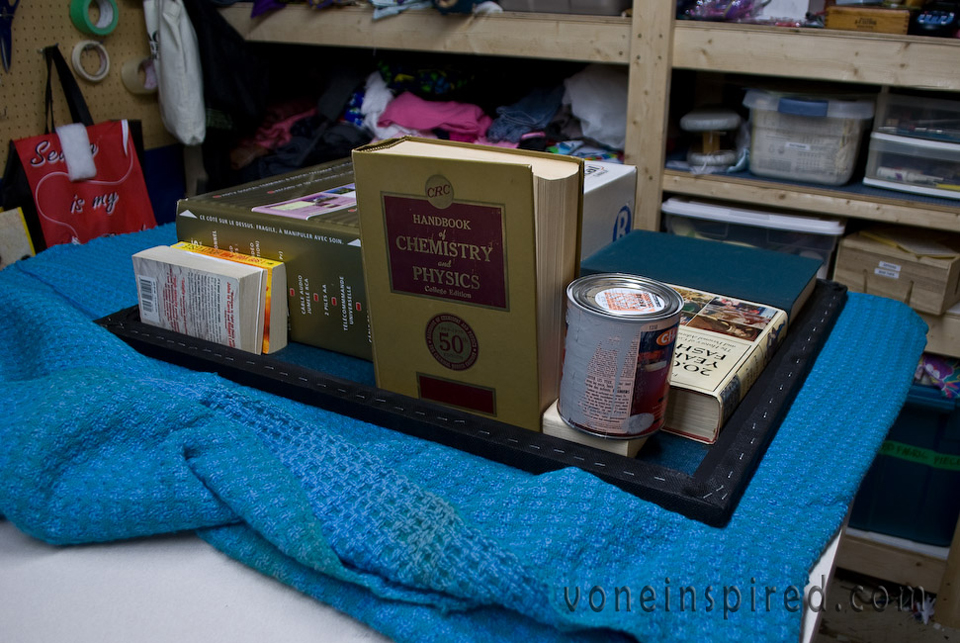
Then to keep it all flat while the branches dried, I came up with this fancy flattening devise. I put some fabric down first so the branches could lie on it and not indent the screening and then piled a bunch of heavy stuff on top. And then I left it for a few days to dry.
To make the leaves I cut up pop cans like I did for the
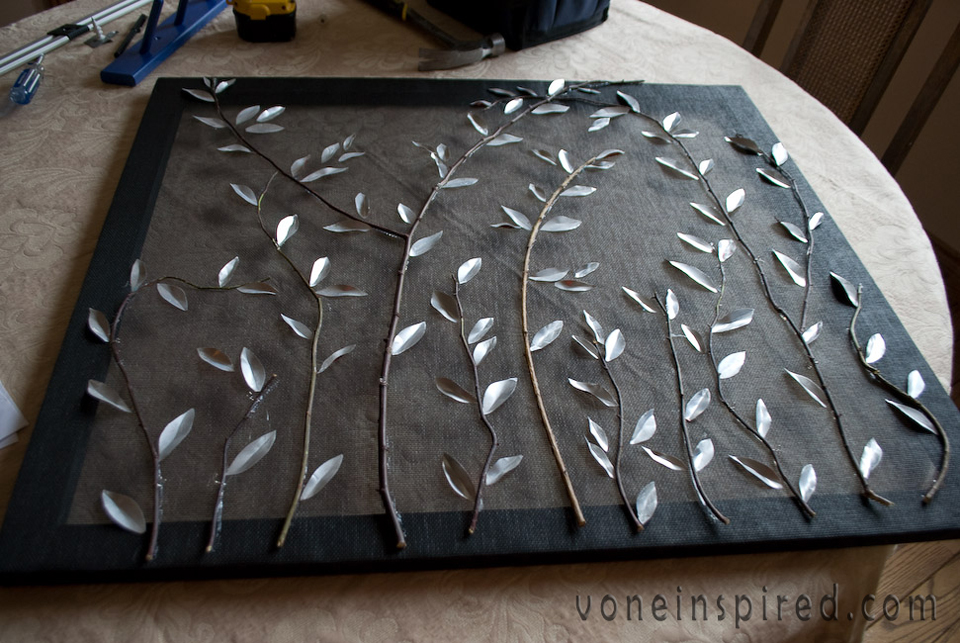
Christmas decorations I made. I don’t know how many leaves I cut but it was a lot, I think it was 6 coke cans. I didn’t use a pattern to cut out the leaves I just made a variety of sizes. Then using a pen draw a line down the middle. I sanded the edges using a sand paper on a block. I didn’t take a lot of time sanding, just enough to get the really rough edges off. That being said it’s not something I would want my kids playing with but you could sand more if you wanted. Then glued on the leaves until it looks full - again I only used white glue which wasn’t the best glue for the job but it worked for now.
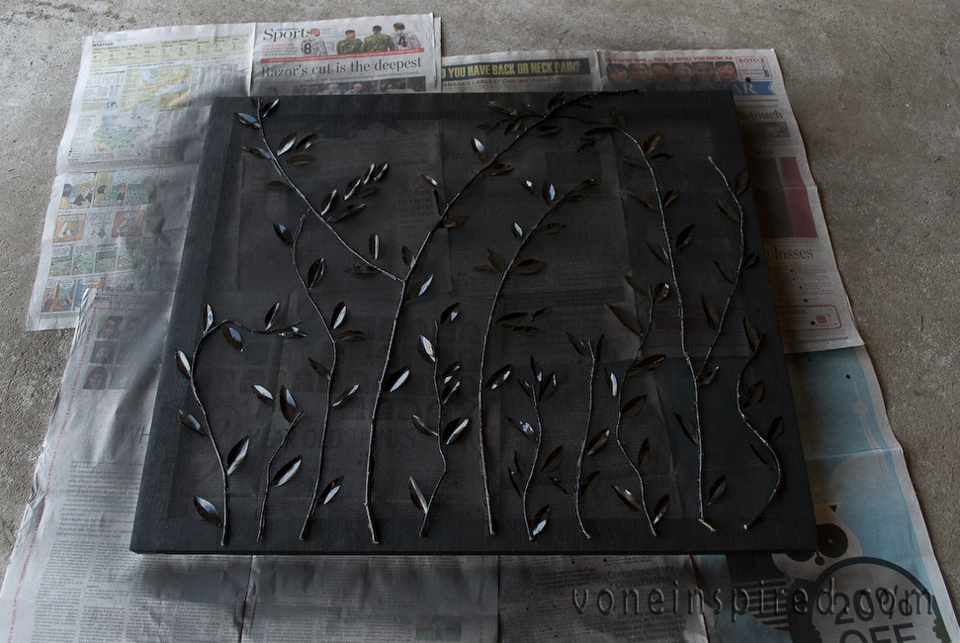
I sprayed 2 coats of black spray paint all over. Again if you had more time you could spray the back too so you couldn’t see any of the cans anymore. I just used black adding a copper finish over would look cool too.
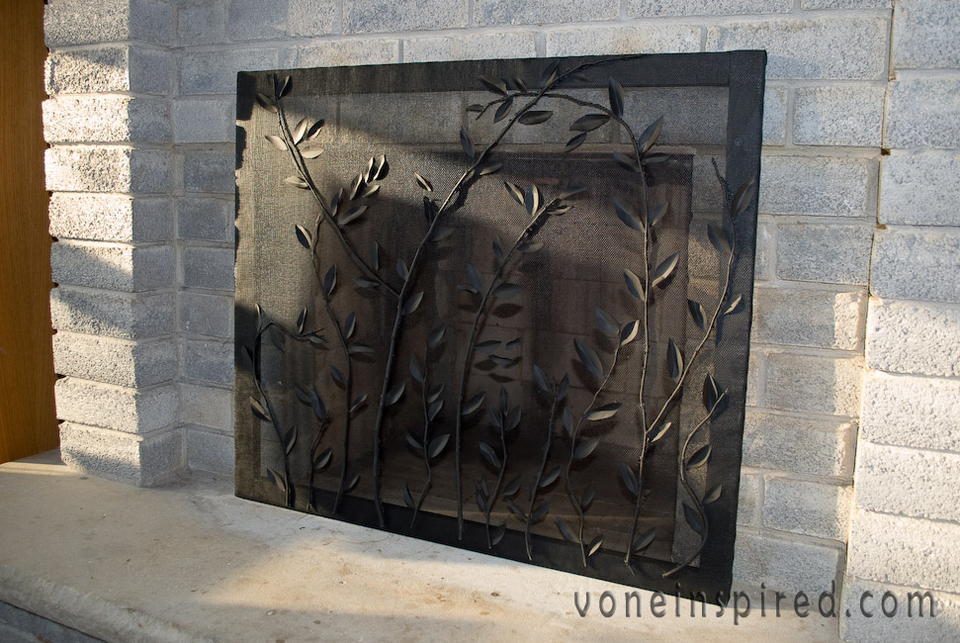
I just leaned the screen over the fireplace but you could make feet or something if you had more time.
My sister-in-law wants this for her place so I might play around with it more but right now I love it.
I love how it looks now. I only wished I had painted that wallpaper ages ago. I wonder how long before the tv is back at least with the screen it can be covered. And in case you’re wondering the fireplace doesn’t have an insert in it so it can’t be used right now, that’s why the tv got put there.






That is SO cool! I'm very impressed. I'll be linking dot
dot
This is fabulous! I am going to put this on my stuff to make someday list. Thanks for sharing this with us!
Nice work! I love the idea of hiding the tv behind the screen. And the painted wall looks great!
Wow! That screen looks awesome!
Okay, that is super awesome! I don't have a mantel, but might create a faux one just to get that look. I love that. It's a huge improvement. I bet it feels good!
That is SUCH a great idea! I wish it were functional too. I'm going to have to come up with something, but this would work for us for now! We transformed our huge fireplace with beautiful glass tile and it needs a screen like this as a finishing touch Thanks!
Great renovations here.It have a lot of improvement and looks more organize.Thanks for sharing procedure on how to make a personal fireplace screen.I will try to create one to be given to my grandmother's house.
Loved your idea so much. I made one for myself and its a wonderful conversation piece. People can not believe my leaves are made of cans. The only thing I did different was my screen is a tri-fold. Thanks for sharing your idea